Difference between revisions of "Character Modeling by Tony Jung Part 10"
| Line 1: | Line 1: | ||
'''Modeling the Hand''' | '''Modeling the Hand''' | ||
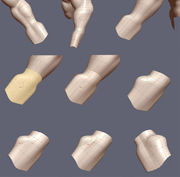
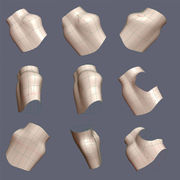
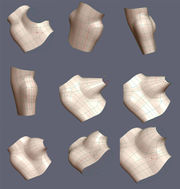
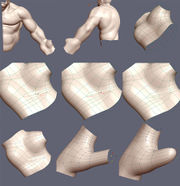
| − | + | I want to make a big hand for the brute, about the size of the forearm. Modeling a hand I have found over time becoming easier and easier, which is kind of funny since it was always the one thing that was difficult for me as an traditional artist, but because of 3D modeling it has helped me with sketching and drawing hands. | |
I start by just form the basic shape I want for the hand. I extrude the boundary edge of the wrist and then I create some additional segments. I tweak the shape out. Once I am happy with the proportion and form I break the mesh for the hand up behind the wrist. | I start by just form the basic shape I want for the hand. I extrude the boundary edge of the wrist and then I create some additional segments. I tweak the shape out. Once I am happy with the proportion and form I break the mesh for the hand up behind the wrist. | ||
Revision as of 12:13, 2 July 2008
Modeling the Hand
I want to make a big hand for the brute, about the size of the forearm. Modeling a hand I have found over time becoming easier and easier, which is kind of funny since it was always the one thing that was difficult for me as an traditional artist, but because of 3D modeling it has helped me with sketching and drawing hands.
I start by just form the basic shape I want for the hand. I extrude the boundary edge of the wrist and then I create some additional segments. I tweak the shape out. Once I am happy with the proportion and form I break the mesh for the hand up behind the wrist.
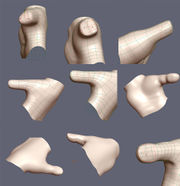
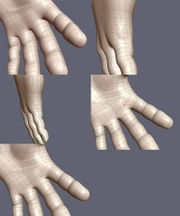
The first thing on my mind is the topology/edge flow of the thumb. I like to model it as a pole type topology so I rework the edges to get a pole type topology. I delete the inner polys of the thumb, so I can get my clean pole topology and it saves me from having to rework the inner part at this point.
Here is just some work on the area opposite the thumb on the palm side. Also in the last set of images I am reworking the edge flow to deal with the folding of that area during deformation of the hand for example a fist.
A v-mirror check and more of the same. You can see now the folding area for the palm in the set of images at the end here. I also start building the thumb. I extrude the edge, convert the STILL highlighted edge to vertices and hit P for create polygon.
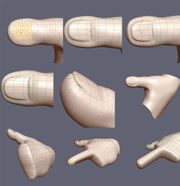
I started out making a pole for the thumb, but at the end I like to revert back into a grid pattern. The reason is because, of the pinching and crease that would be created if I end the pole right onto 1 vertex, which is NOT what we want, but a grid would give me a smoother surface. I add in more segments to the thumb and I tweak the form to shape the thumb.
Making the nail of the thumb, pretty much what you see in the images.
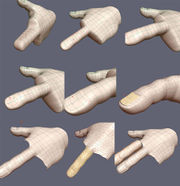
I like to start off with the middle finger. Extrude out 2 ploys and create more segments and tweak shape. Pretty easy and straight forward.
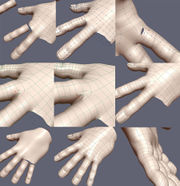
I copy the finished finger and then paste move, scale and rotate into place for the index finger. I merge object the 2 mesh and then begin to weld the vertices. If I have a stranded vertex that doesn't match up I just cut an edge and weld the stranded vertex, to be fixed later. I also make some changes to the mesh surrounding the area between the finger, because of the creasing from a 5-point that will occur during deformation. I push it back to an area of less deformation. I repeat the process for the other fingers.
Here I am cleaning up the 5-sided polys and work them into the mesh.
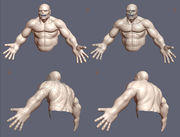
I merge the hand back onto the main mesh and since the vertices match up with the arm, not much work attaching. Another mirror check. It doesn't look quite right, the hands are fine, but I need to bulk up the forearm, bicep and shoulder muscles to match the big hands.
Back to Part 9 | Go to Part 11
Text and Images Copyright © 2004 Tony Jung.
